Design Review
- Sep 29, 2019
- 3 min read
Updated: Oct 4, 2019
With a new week upon us, Sustainbiliteam focused on developing a preliminary design that could be modified slightly into our final design.
Our team first made a final decision on the direction of our project. We ended up going for Design #1 (from our previous post) and avoiding an electronic device utilizing a small solar panel. This was for a couple of reasons:
Complexity wise the solar panel would be somewhat of a nightmare. None of us wanted to pursue an electronics related endeavor due to lack of prior experience and projected effort into making this yo-yo.
Solar panels cost a lot of money, and due to our $250 budget, this would not be possible.
After making this decision, we put together a rough sketch of the yo-yo. We needed to satisfy the requirements, including three injection molded parts, one snap-fit, and one thermoformed part.
After analyzing a variety of different example yo-yos, our team focused on applying all of these constraints into this design (shown here as one half of the yoyo):

We decided to CAD each aspect individually and put them together in an assembly.
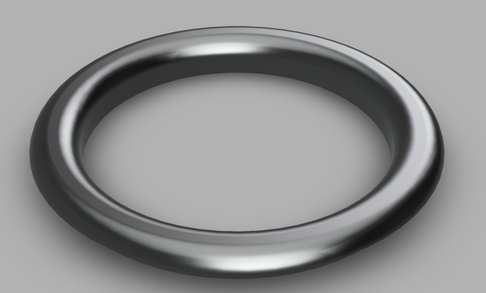
Outer and Inner Casing
The casings will be our snap-fit. We based it off of other snap-fit yoyos we saw among the collection. In addition, in the spirit of sustainability, we took it upon ourselves to limit the amount of plastic being used. That explains the webbed design of the inner casing. The spacings will also offer a glimpse into how the different structures of the yoyo fit together.
The first two photos on the left are of the inner casing whereas the last two photos are of the outer casing.
You can also see how the inner casing fits into the outer casing with the extrusions being of a certain precise width. We will be injection molding all of the casings.


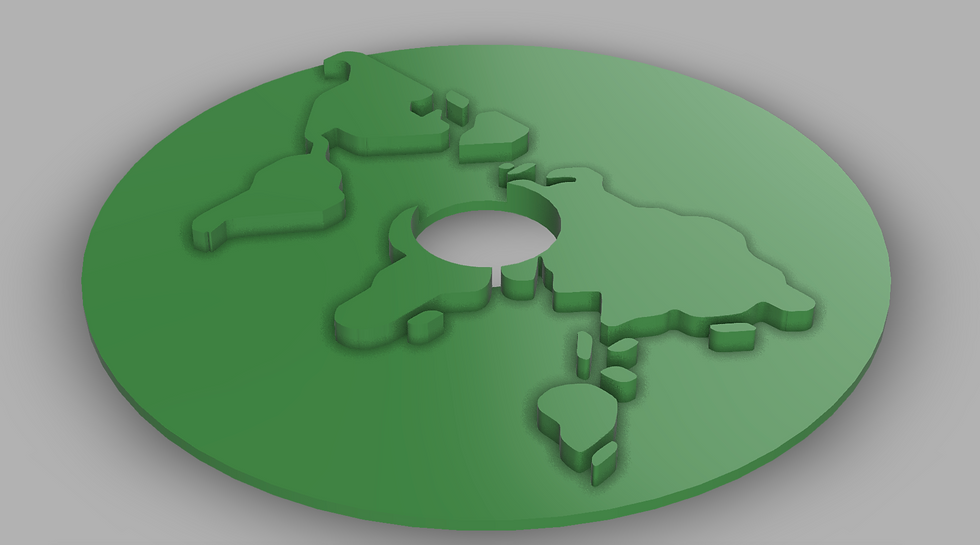
Water Plate
The “water” plate will be above the thermoformed continental landmass plate. The water will be injection molded or laser cut. There is a circular hole in the middle where the windmill will be attached to be able to spin on its own. We based this design off a couple of yo-yos whose fixture for spinning parts was a simple fit in a hole.
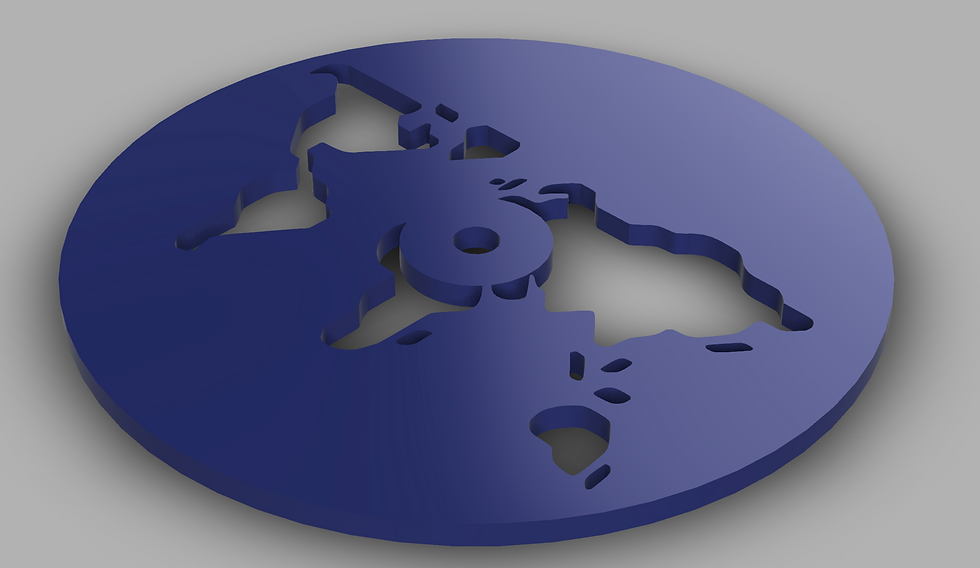
Earth Inlay
The landmass of the Earth will be our thermoformed aspect of the project. It will be inserted into the spaces in the water plate and fit accordingly. We chose to apply this method after seeing the Minion yo-yo from a previous project.
Turbine
Each windmill will be injection molded. Sizing was done in such a way that the blades did not interfere with the casing of the yoyo. These windmills will be attached by a fit into a hole so that it can freely rotate but not detach.


Assembly
With these various parts, we set out to assemble the CAD into a better visual and also to gain a better understanding of the additional fixtures necessary.
We need a screw to attach both halves of the yoyo together. Each half requires a nut to keep that half stable and a bearing for the rotational aspect of the turbine.
This video below shows our assembly and an explosion of the different inner workings of our yo-yo.
Moving forward, questions we are asking ourselves include:
What manufacturing process will we use for the water plate?
How reasonable is our mission to use less plastic on the inner casings?
What problems will arise in making this yo-yo from a manufacturing standpoint?
What do our instructors think about our project and what advice do they have for us?


Comments